Metallographic microscope - determination of actual magnification of objective lens
2024-05-30(73)次浏览
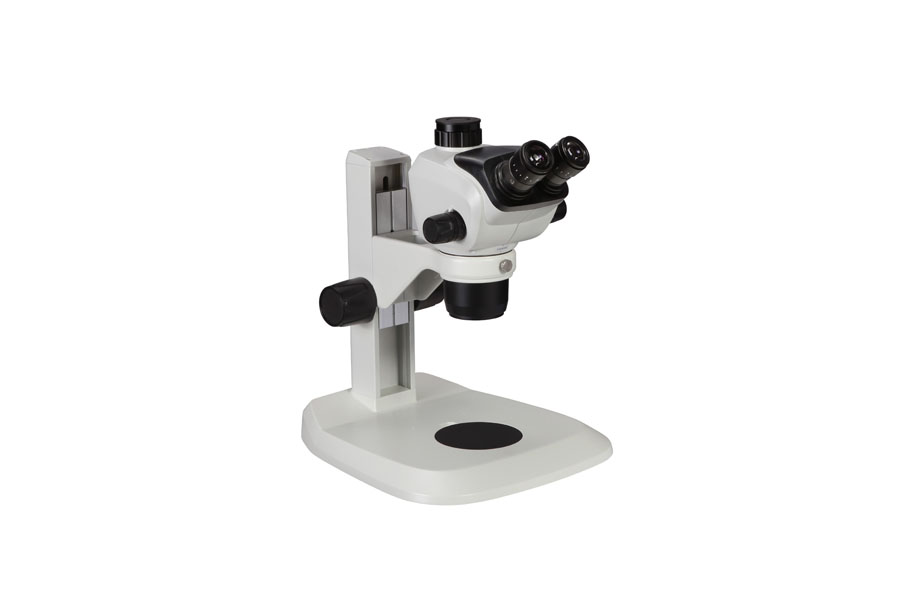
The magnification of the objective lens of a metallographic microscope is designed to allow for a 5% error. To obtain the actual magnification of the objective lens used in the instrument, the user of a metallographic microscope can measure it by the following methods:
Place the 0.01 mm objective micrometer on the object table, adjust the objective lens to be calibrated in the working position, and then install the 10X division eyepiece (equipped with a 0.1 mm grid value scale) on the eyepiece barrel, observe the field of view of the eyepiece while focusing, so that the object image of the objective micrometer of the metallographic microscope is clearly displayed. If the calibrated objective is 10 x and the 0.01 mm grid value of the objective micrometer is magnified to coincide with the 0.1 mm grid value on the eyepiece scale, the objective is magnified to be exactly 10 x.
Metallographic microscope in practice, generally do not use a small cell (0.01 mm) as a measure, but with five cells (0.05 mm) or ten cells as a measure, to eliminate measurement errors.
相关推荐
-
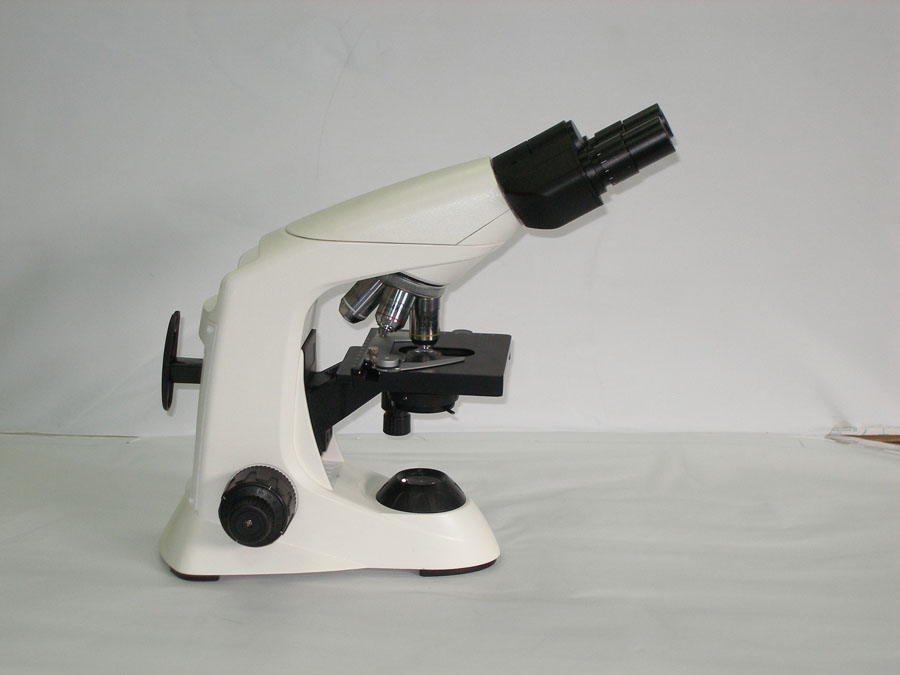
Metallographic microscope - determination of actual magnification of objective lens
-
Mechanical stability is particularly important when selecting optical microscope
-
Use of optical polarizing microscopes
-
Metallographic microscope of the prism and reflector adjustment steps of simple explanations
-
Cleaning methods and steps for optical parts of metallographic microscope
联系我们
服务热线:400-806-6587
联系电话:
公司传真:
公司邮箱:
公司地址:Building 5, Haiyungu Science and Technology Park, No. 98 Shuangzha Road, Jianye District, Nanjing


 400-806-6587